Hope you're enjoying the progress on my Architect's Loft, I'm enjoying sharing it with everyone. Thanks for all the kind comments here and on social media on the loft. It's very motivating. At any time you can click on the pictures and see larger versions of the images to get a better view.
Next it's on to the exterior brickwork! I added a detail line of bricks in another color at the base of the first set of windows.
When I turned the corner on the bricks, I didn't like the neatness of my work, I should have started in the corner and worked out to the edges. Lesson learned I guess, so a creeping ivy has been added to hide this detail. I made the ivy from a Hanky Panky punch I own. I coloured the leaves in multiple shades of green and a little rust to mimic more of a fall leaf.
I've also started working on the base, which was constructed from 1/2" foam core and painted to mimic concrete and I added some trash in an alley. The trash is hiding the electrical supply, more on the "trash" in a future post. I also added a great dandelion from a Bonnie Lavish kit. I love her flower kits, wish she was still making them. I know the avid gardeners are now saying, nooooo.... I know you wouldn’t have fall ivy leaves with dandelions in the same scene normally, but I'm taking a little creative licenses here I guess.
Lisa got to learn from my mistakes, so when she started her exterior brick, she started hers correctly in the corner.
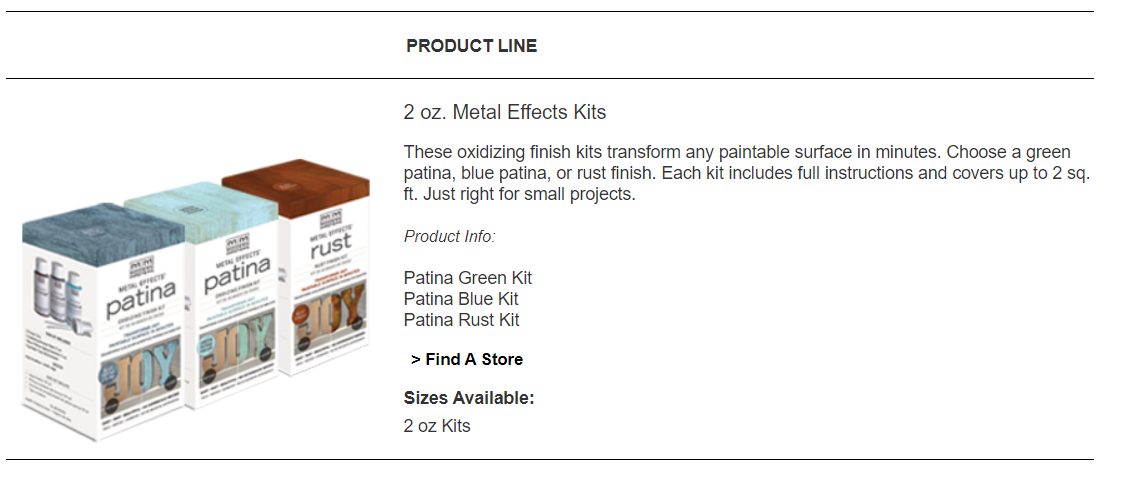
For the sloped portion of the roof I added wood strips and using Modern Master's Faux Finish Patina Copper Kit, I made the sloped roof look like copper with a patina finish. After a few failed attempts I was pleased with the finish look. Since this kit does have a spray layer, it's something that I recommend doing outside, it was a bit messy. I also added a rain trough at the bottom of the sloped section finishing it with some of the ivy leaves and mouldy surfaces it would have built up with time.


.jpg)


As I mentioned, once I turned the corner and started the brick work on the side, it didn't work out quite as I planned. The gaps in the brick work were too large. I had taken some liberties with the brick spacing on the front to accommodate the windows, but this spacing didn’t work well once I turned the corner. You can also see where the wires from the second floor ceiling are channeled down from the top into the base below. The painter's tape is protecting the wires from the brick work. My first attempt at the brick work was removed and I had to make a second attempt. This was only so so.
So I found an old Benjamin Moore billboard and used it to again hide my bad brickwork. (There is some significance to using a Benjamin Moore billboard for me). I added an electrical meter box for added detail and to cover up more flaws. Think I need some pipes running to this as well. You can see the electrical supply for the loft stored in the base as well.
It's all starting to come together outside, now to get back at the lighting and furnishings inside plus I have to finish the roof of the structure. But that's for another day!
Until the next time......
Wanda


.jpg)


Hi Wanda! I am really enjoying seeing the Architect's Loft (Lisa's too)come to be! The brick work looks amazing, and even more realistic with the imperfections! I love the clever ways you are camouflaging the issues - there is almost more creativity in that than anything in minis, lol! Great work! I am excited for the next episode!
ReplyDeleteJodi
Thanks Jodi. I really appreciate the comments. I’m a big admirer of your work as well. Loved your flower shops. I find making flowers very relaxing.
Delete